
Editing Tools: How to Use Track Changes in Microsoft Word
Share this article:


Track Changes is a key tool for proofreading in Microsoft Word. And if you want to work as a proofreader, you’ll need to know how it works. In this post, then, we’re going to run you through the basics of how to use Track Changes when editing a document in Microsoft Word.
How to Turn on Track Changes in Microsoft Word
Track Changes is an editing tool you can use to record revisions to a document. As a proofreader, this offers a simple way to mark up edits for your client when editing in Microsoft Word. To do this, though, you’ll need to turn on Track Changes by
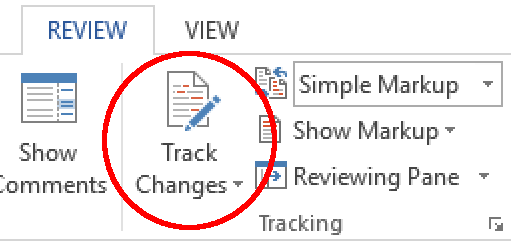
- Going to the Review tab on the main ribbon.
- Clicking the Track Changes
That’s it! Once you’ve done that, Word will record all changes made to the document. And to stop tracking changes, all you need to do is click the Track Changes button again.
You can also toggle the Track Changes tool with the keyboard shortcut Ctrl + Shift + E in Microsoft Word for Windows (or Cmd + Shift + E in Microsoft Word for Mac).
Markup Options for Tracked Changes
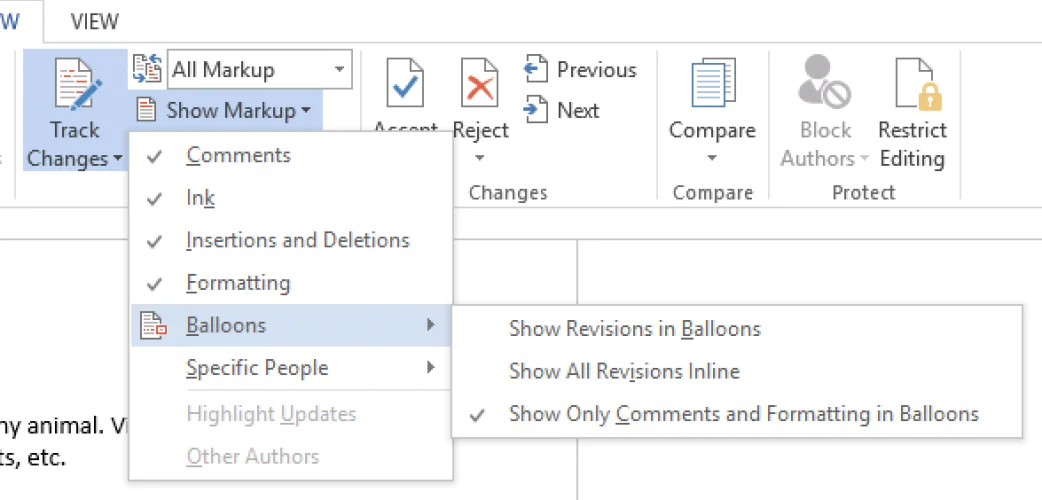
You can control how Microsoft Word displays tracked changes via the markup options. You’ll find these on the Review tab in a dropdown menu just next to the Track Changes button.
The markup options available here in recent versions of Microsoft Word are:
- Simple Markup – Shows you the edited text, with changes marked via red marks in the left margin. Clicking these red marks will switch you to All Markup.
- All Markup – Shows edits in red, with deleted text also formatted with the strikethrough effect (e.g., deleted text). Formatting changes are recorded via bubbles in the right margin.
- No Markup – Displays the edited version of the document with no changes marked.
- Original – Shows the document prior to any edits being made.
We suggest using Simple Markup as a default. This lets you proofread without being distracted by red marks in the text, but you can quickly switch to All Markup to review your changes.
You can also customize how edits are displayed (e.g., the color of highlighted edits, the types of changes shown) via the Show Markup menu, which is just below the main markup options.
Reviewing Tracked Edits
As a proofreader, you may need to review existing edits in Microsoft Word (e.g., if your client wants you to check changes they made while redrafting). And even if you don’t need to use the review options yourself, you may need to explain how they work for a client.
Good news, though! Reviewing edits is quite simple in Word. All you need to do is go to the Changes section of the Review tab. Your options here are:
- Previous and Next – Cycles through tracked changes.
- Accept and Reject – Accepts or rejects a selected edit.
When you accept an edit, it no longer shows up as a tracked change in the document. And when you reject an edit, the text reverts to how it was in the original version.
There is also an option to accept or reject all changes in a document at once, accessed by clicking the down arrow on the relevant button and selecting the option from the menu.
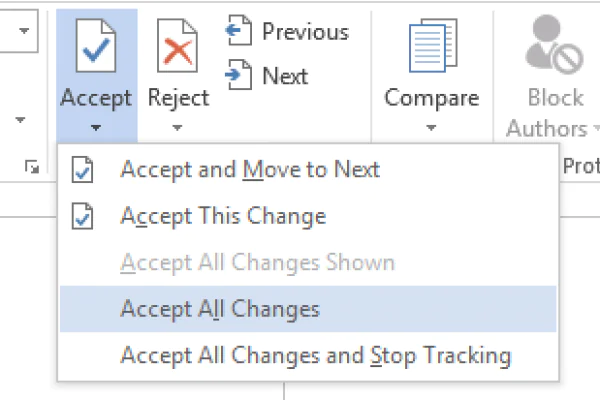
However, you should only use Accept All Changes if you’ve already checked the tracked edits.
Leaving Comments
The other key tool in Microsoft Word that you may need to use as a proofread or editor is the commenting tool. You can use this to explain changes you’ve made, suggest further edits, or pose questions for your client.
To leave a comment in Microsoft Word, you have three options:
- Go to the Review tab on the ribbon and click New Comment.
- Right click and select New Comment from the contextual menu.
- Use the shortcut Ctrl + Alt + M.
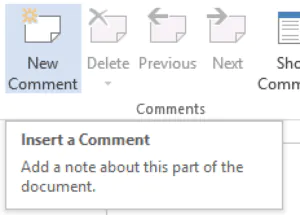
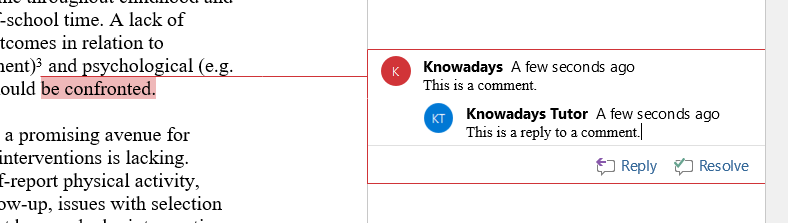
After this, type your comment in the bubble in the right margin. If you need to edit a comment, simply select it and make any changes required.
You can also reply to existing comments in a document by clicking Reply in the comment itself.
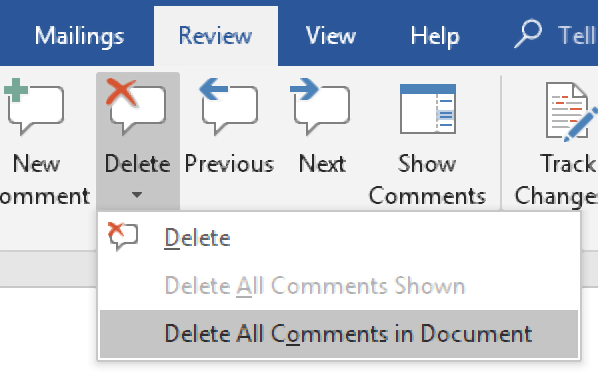
To delete a comment, meanwhile, you can either right click and select Delete from the contextual menu or select the comment and go to Review > Comments > Delete on the main toolbar. You will also find an option to delete all comments in a document here, so make sure not to click this by accident!
Becoming A Proofreader
For more about how to use Track Changes in Microsoft Word, as well as everything else you need to know as a freelance proofreader, why not give Knowadays a try? You can sign up for a free trial of our Becoming A Proofreader course today to see how it works.


Join the Conversation
Leave a Comment
Your email address will not be published.